Learning management system like Tabschool stores all your content in one place, thus there are no chances of losing it. By adding classes in the Tabschool, the institute/college/school doesn’t have to worry about class management.
To add classes in Tabschool, you first have to visit https://tabschool.in/app and log in.
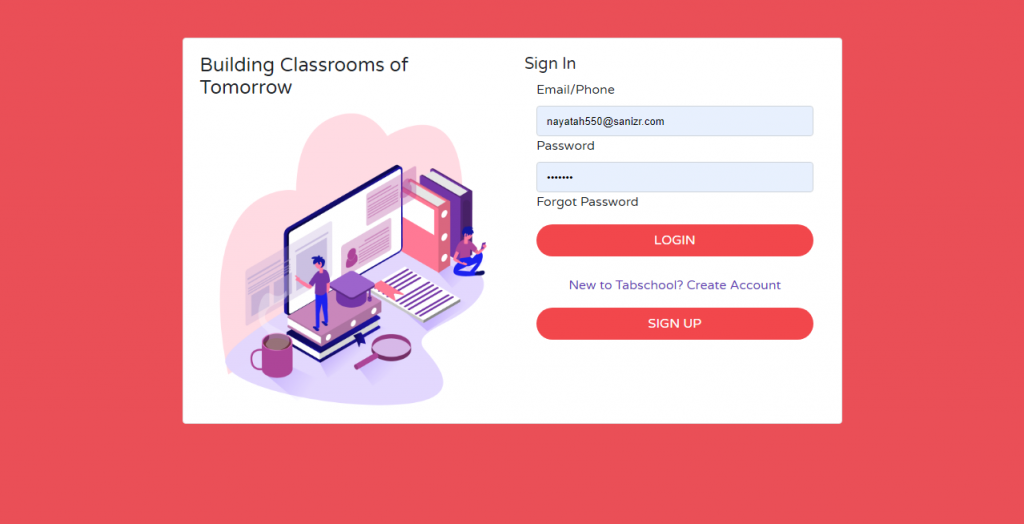
Step 1: Fill in your login credentials.
- Email/ Phone: Kindly mention the phone number or email address through which you have registered.
- Password: Please give your password.
- Click on login.
Once you log in, the following page will appear on the screen.
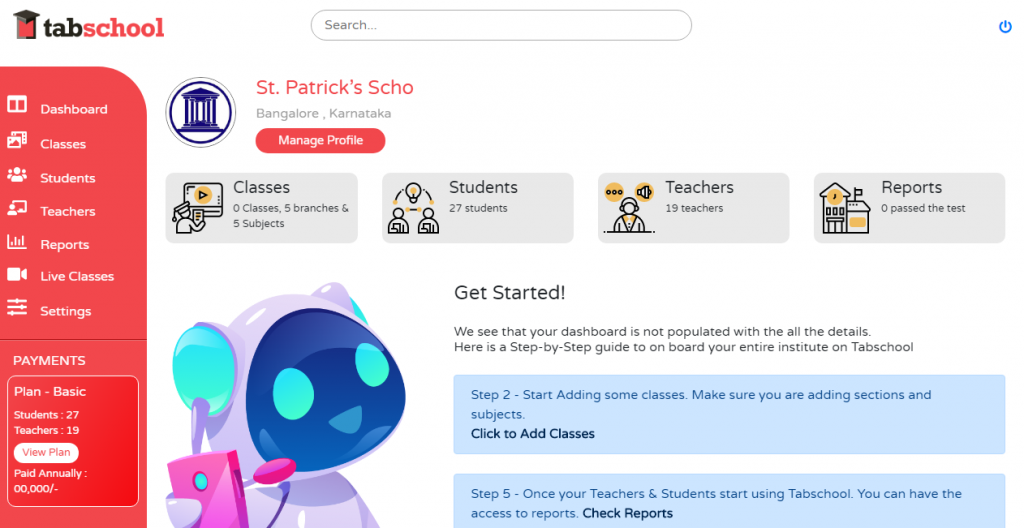
Step 2: Now you will see a menu bar on the left hand side of your dashboard with several options. Amongst those options, you have to click on the Classes option. Now, the following screen will appear:
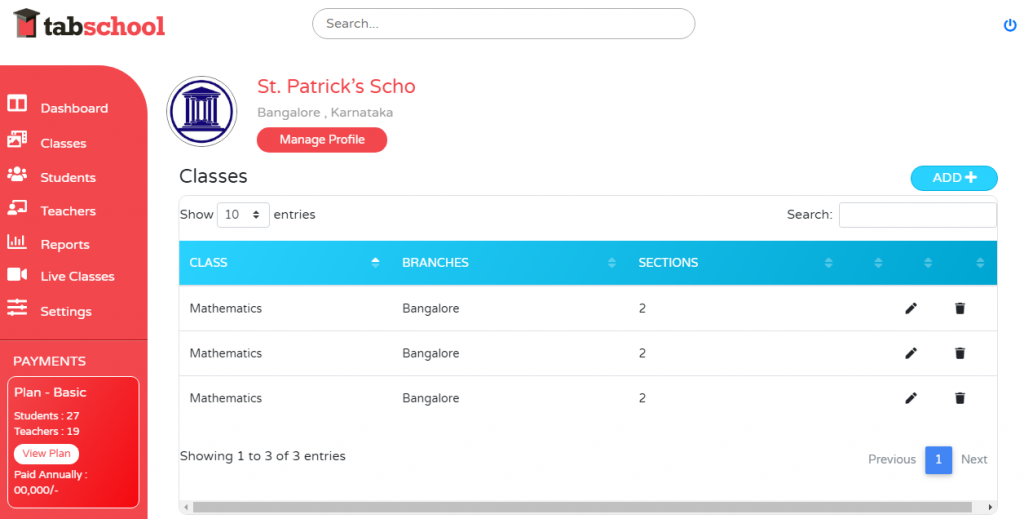
Step 3: On the right side of the screen, you will see a blue ADD button. Click on that button.
The following screen will appear when you click on add:
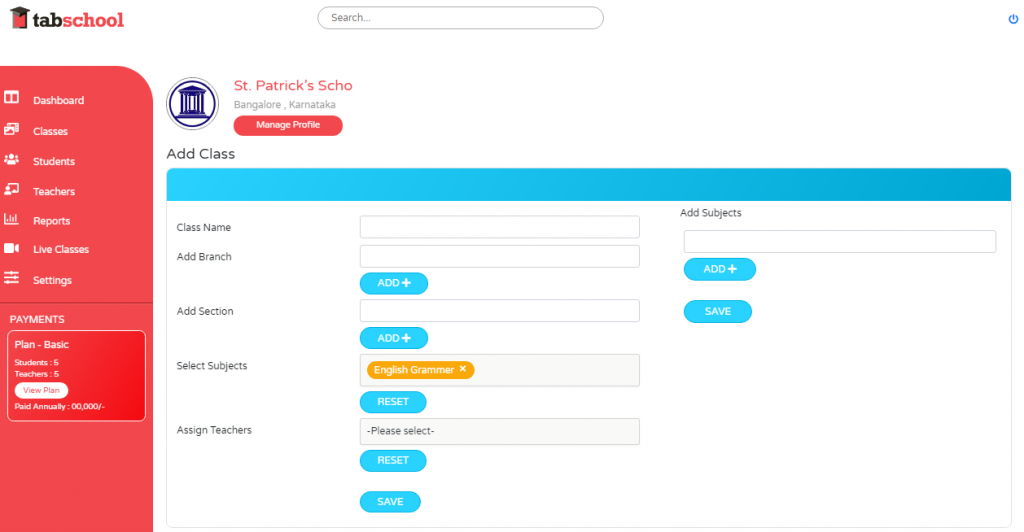
Step 4: Now start filling the following details to add classes:
- Class Name: Please specify the class name.
- Add Branch: Please mention the branch. Below this section, there is an Add button. Click on add for adding more than one branch. Many institutes have different branches. So by mentioning the branch name it will become very easy for the institute.
- Add Section: Please specify the section of the class. Below this section, there is an Add button. Click on add for adding more than one section.
- Select Subject: Please select a subject for the class.
- Assign Teachers: You will see, please select in the box. Click on that, and you will see teacher list. Click on the teacher you want to choose while adding a specific class. Now, click on the save button mentioned just below this box.
All your information will be saved. For adding the next class, follow the same process. Hence, in this way, you can add classes in the tabschool app.